Examining All Materials in Your Model
Want to take a look at all the textures in your model at once?You can do that in SketchUp. To see how, let’s draw a cube, add textures to its various faces, and then take a look at the textures in the drawing all at once. Here’s how it works:
1. Click the Start Using SketchUp button.
2. Select the Rectangle tool.
3. Draw a horizontal rectangle.
4. Select the Push/Pull tool in the toolbar.
5. Pull the rectangle up into a cube.
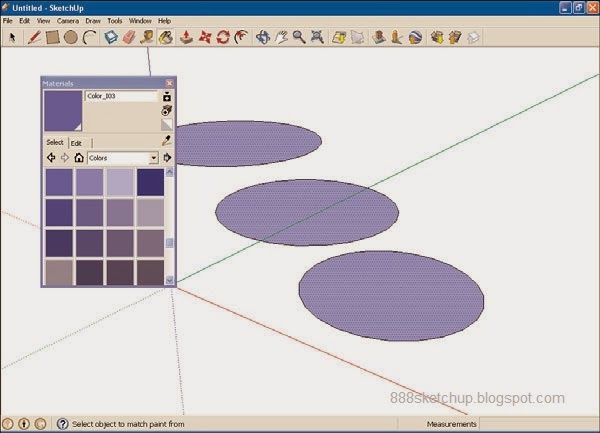
6. Select the Paint tool in the toolbar.
Selecting the Paint tool displays the materials browser.
7. Select a texture collection you like. In this example, we’re going to use the first collection in the Texture drop-down list box, the Bricks and Cladding collection.
8. Select a texture by clicking it.
9. Click a face of the cube to give it that texture.
10. Repeat steps 8 and 9 for all visible faces of the cube.
11. Click the Home button in the materials browser. This will display all the textures currently in the drawing, as you can see in Figure 7.10.
TIP: Too Many Textures?
Why are there more textures displayed in the materials browser than you painted on the cube? The answer is that the template we’re using, Engineering–Feet, comes with several built-in plain color textures to create the human figure that originally appears when SketchUp starts.

FIGURE 7.10 The textures in our drawing.
That’s it—now you know how to access all the textures in your drawing.
TIP: More Details for Your Textures
To see the name of the textures in your drawing, hover the mouse over them in the materials browser and the texture’s name will appear in a ToolTip. For solid colors, the RGB values (that is, the red, green, and blue values with a range of 0–255) appear separated by commas in the ToolTip, such as: 96, 96, 96.
Thanks :
Steven Holzner,
SamsTeachYourself Google SketchUp 8 in 10 Minutes